Overview of the Student Registration Feature
Use this feature to set up your schedule and register for courses. The
search and the planning calendar help you find the courses you need and
see your schedule at a glance. You can also request clearances, and you
can address any holds on your registration.
Your registration experience can vary depending on whether you have
an academic plan, a degree audit, or neither.
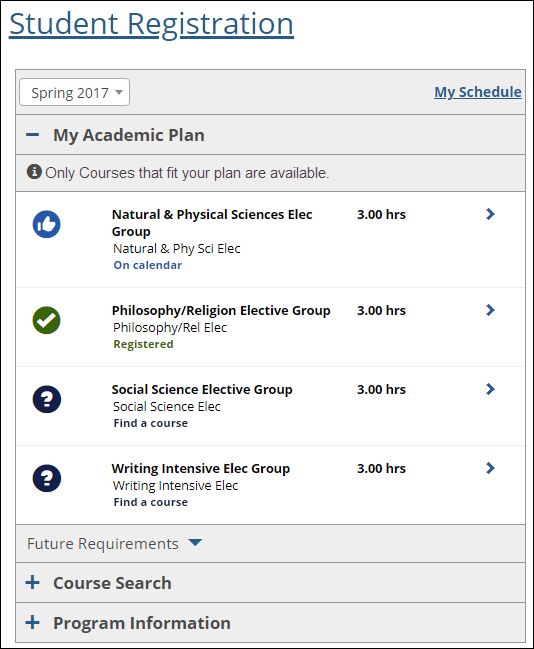
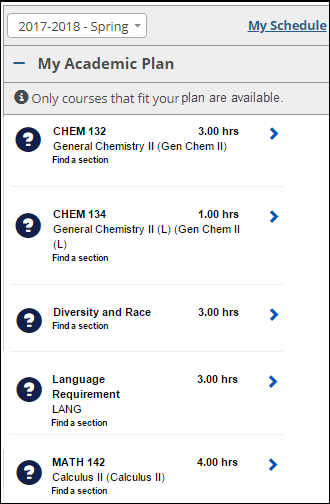
If you have an academic
plan, the feature guides you to courses that fit the plan.
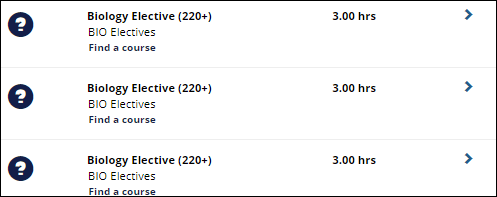
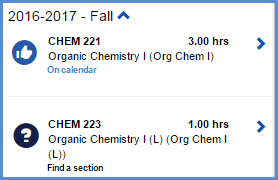
You can click on a course or a group to find available sections. Example
Your academic plan helps to keep you on track each term
to complete requirements for your program, certification, or degree.
Depending on your school's policies, you might be restricted
to registering only for courses on your plan for this term. The
level of restriction you have is called "plan sensitivity."
The message with the information icon  shows
your plan sensitivity. Ask your advisor if you have questions
about your restrictions.
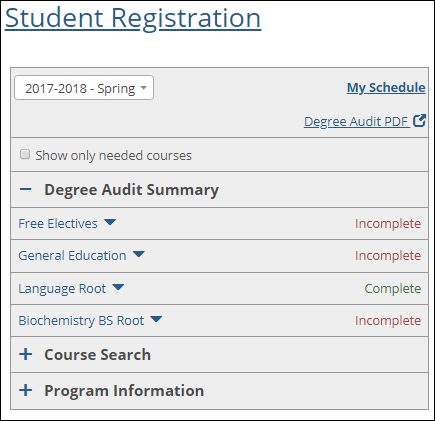
If you don't have a plan but have
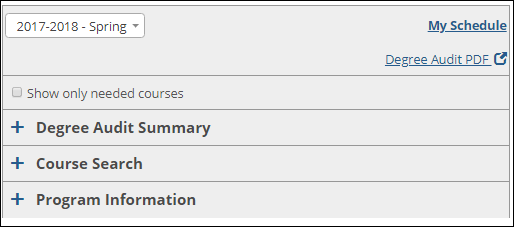
a degree audit, it guides
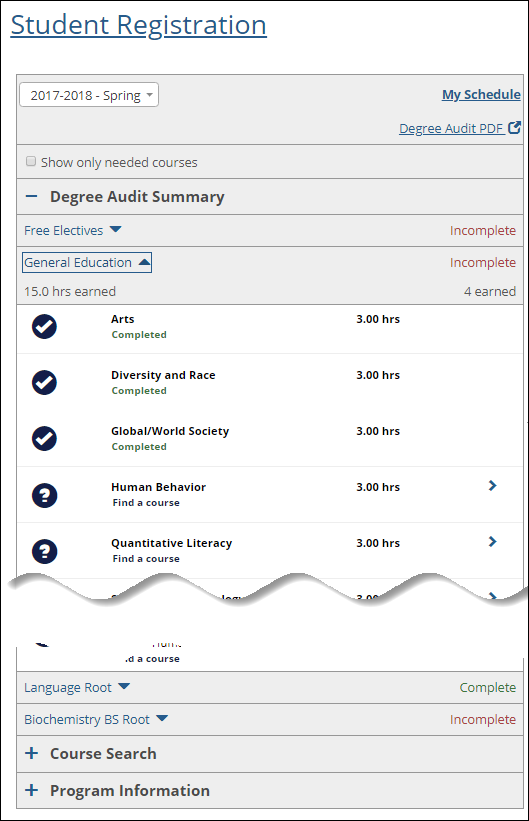
you toward completing your degree. You can click a requirement to
see courses in that category that you've completed and the ones you
need. Click on needed courses to find available sections. You can
hide completed courses. Example
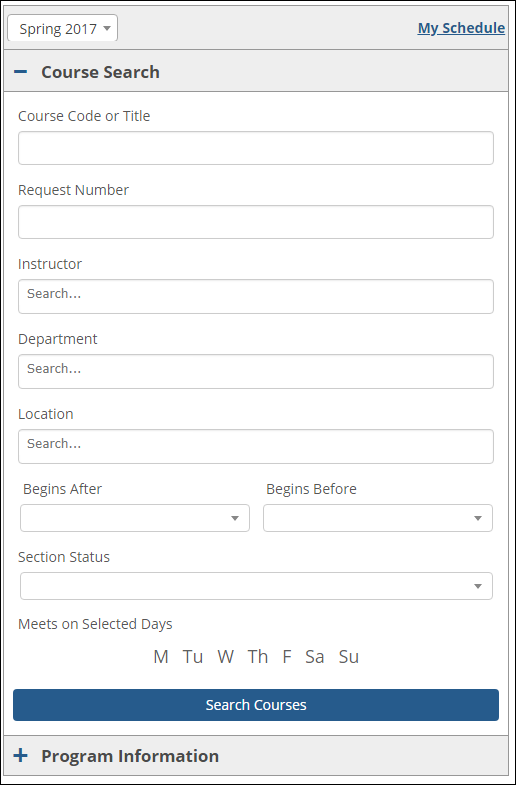
- If you have neither academic plan nor degree audit, you use the
simple course search. Example
Find Courses, Develop Your Schedule, and Then Register
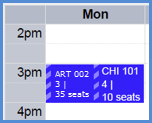
Planning involves placing courses on your planning calendar. There you
can see schedule conflicts, holds, and potential issues before registering.
You can see which courses fit your requirements, how many seats are available,
and who the instructors are. You can also view course locations on a map,
and clear up any issues before you register. Place and remove courses
freely until you're ready to register them.
Your school may open planning before the registration period opens.
When you're ready and when registration is open, you can register for
any or all of the courses on your planning calendar.
 |
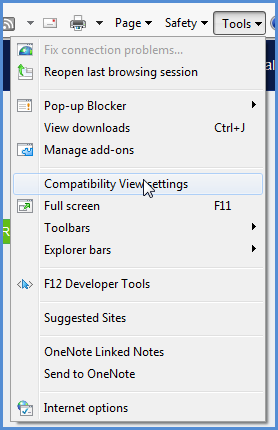
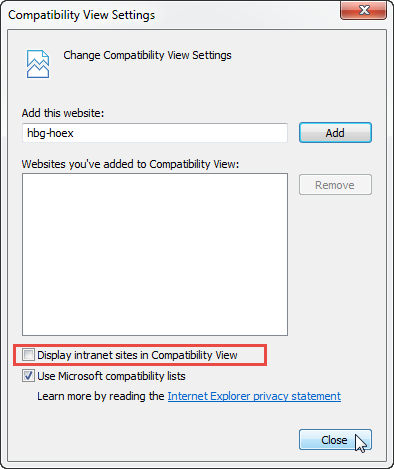
If you use Internet Explorer,
make sure Compatibility View is turned off. Steps
|
Find Courses
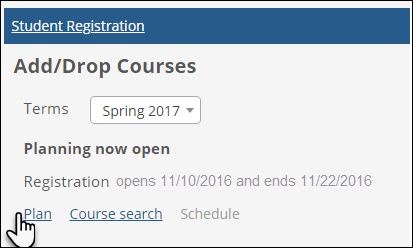
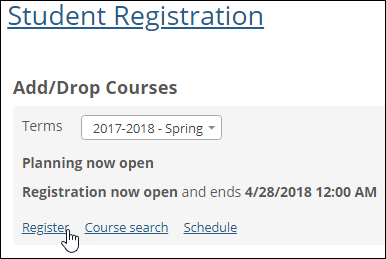
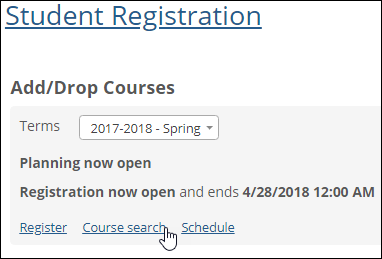
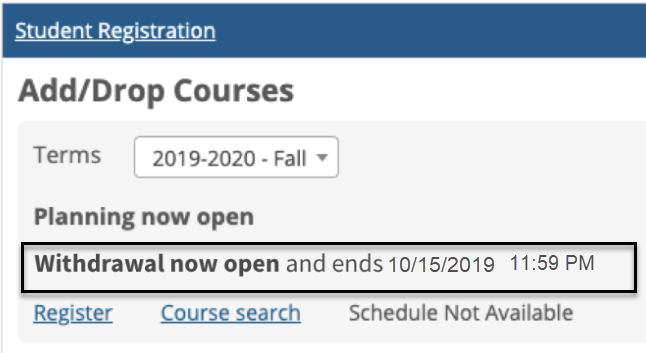
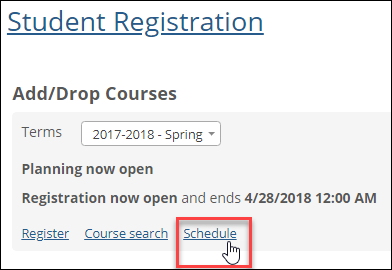
When you select a term, the Student Registration feature
shows you when planning and registration are available. (Your school may
have a planning period before registration opens. You can create a schedule
and have it ready when registration opens.) When you click Plan
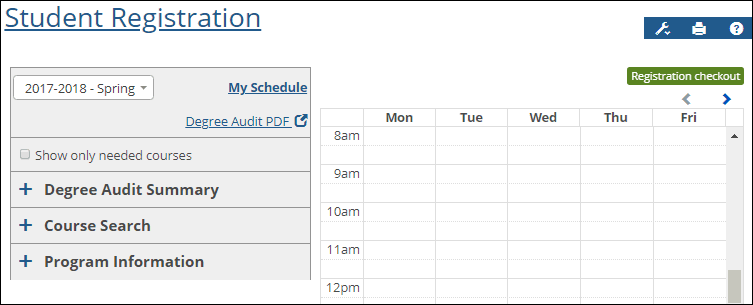
or Register, the search panel
and planning calendar appear. Examples
Find courses by clicking requirements or running a course
search. In the course search, you can search by any combination of fields.
 |
Course Search Details
The Course Search panel can appear in several places.
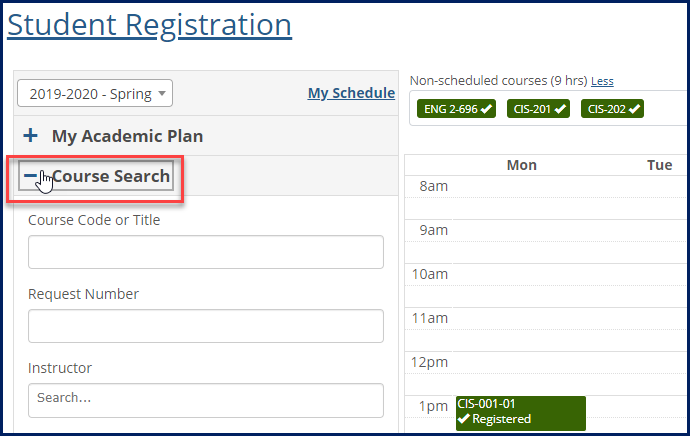
- When neither Planning nor Registration is open, you can
use the Course Search link on the Student Registration landing
page. It's a view-only search, so you can't place them on
your calendar from there, but you can gather information.
Example
- When Planning or Registration is open, use the Course Search
option in the left panel of the My Schedule page. Example
The
Search Fields
|
How to Find Courses
Find Courses
by Requirements
Find Courses
Using the Course Search
View
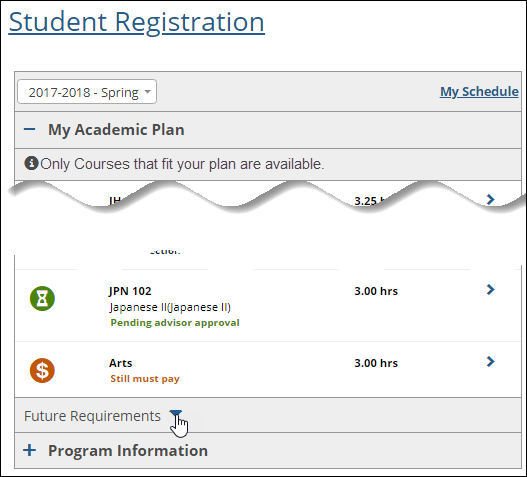
Future Academic Plan Requirements
Develop Your Schedule
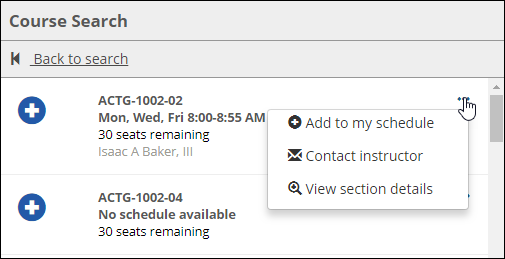
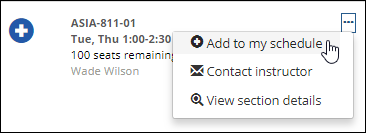
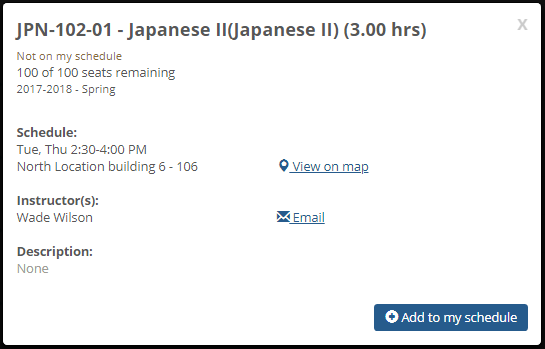
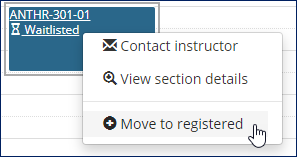
Once you find a section, you can view details, contact the instructor,
or add it to your schedule. Adding it to your schedule doesn't register
you; it just places the course on your calendar to help you plan. Example
Work out your schedule by adding courses to your calendar, experimenting
with various sections, until you find the combination that meets your
requirements. During this process, you can register for some courses,
request approvals and permissions for others, and keep others on your
calendar without registering. Your calendar may include conflicts and
warnings while you're in the planning stages. Example

|
Your calendar saves automatically and will still be there
next time you log in. |
How to Develop Your Schedule
Place Courses
on Your Calendar
See Course
Locations on a Google Map
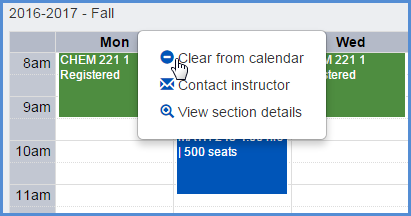
Clear Courses
from Your Calendar
Nonscheduled Courses
Some courses don't have a regular schedule, so they can't be placed
on your calendar. Examples include directed study, online courses, or
courses whose schedules are not determined yet.
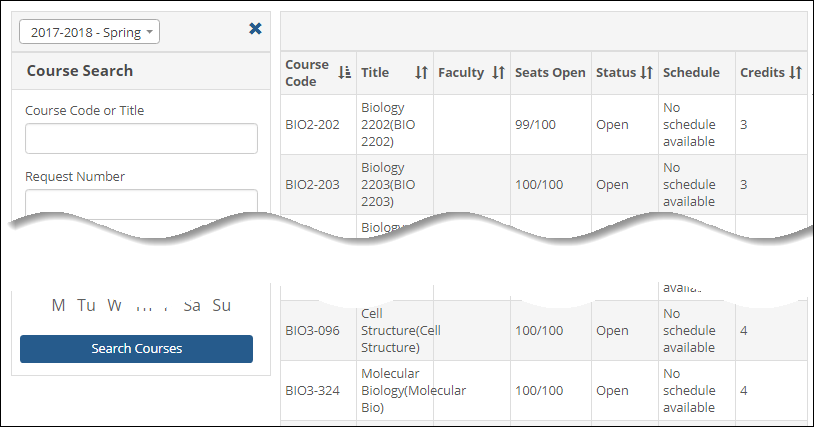
Nonscheduled courses appear in the search panel with the message "No
schedule available" or "No schedule." Example
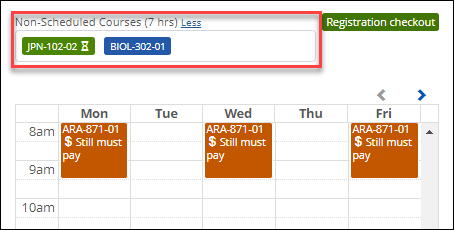
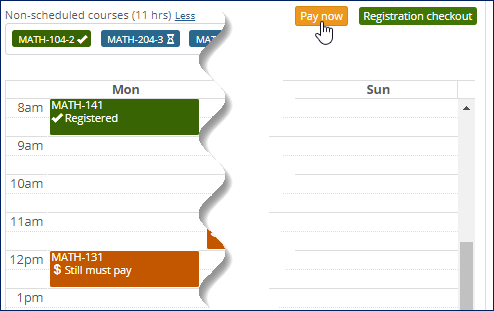
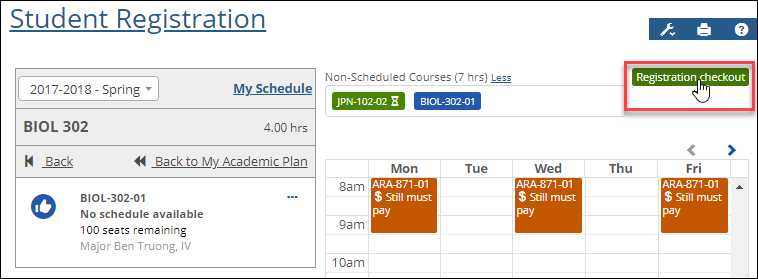
When you add them to your schedule, they appear just above the calendar.
Example
Nonscheduled courses use the same colors and symbols as courses on the
calendar, and they work just like scheduled
courses for approvals, registration checkout, removing from the schedule,
and dropping.
The subtotal of hours for nonscheduled
courses alone shows just above the courses. You can hide nonscheduled
courses by clicking the Less
link, and show the courses again by clicking the More
link.
Open Enrollment Sections
If your school uses Open Enrollment, you may be able to register for
a section outside the usual registration period or even take a section
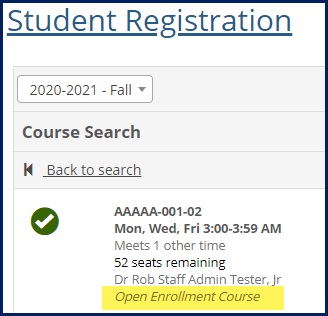
outside of the usual term period. Open enrollment sections are labeled
in the My Schedule view of the Student Registration page in the Course
Search. Example
They're labeled on the planning calendar, too. Example
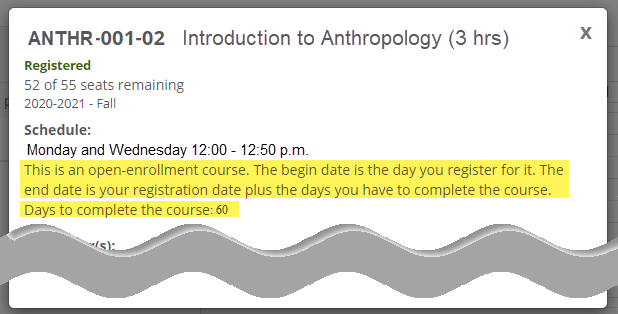
You can view course details to see how long you have to complete the
course. Example
Resolve Issues, and Get Clearances and Approvals
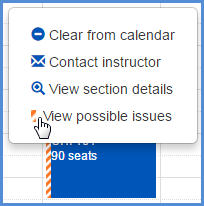
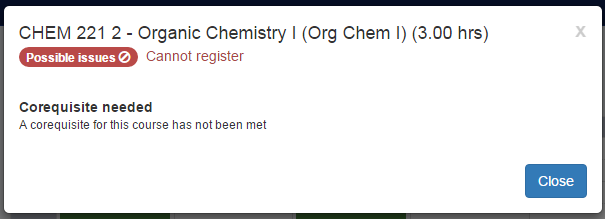
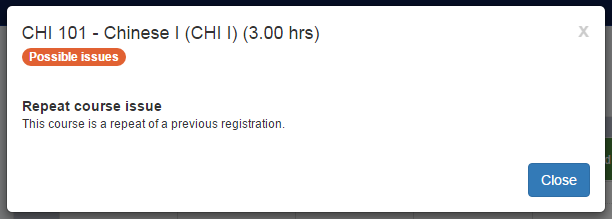
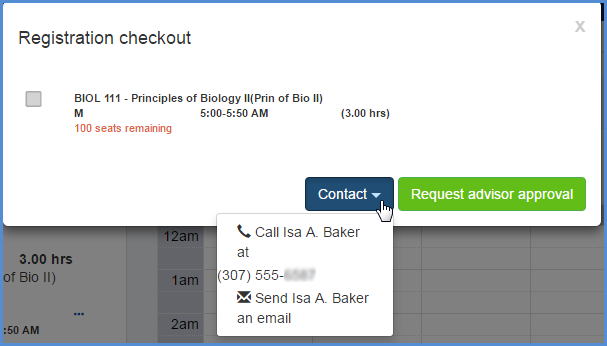
Before you register, you can see whether any of your courses have issues
to address. Then you can contact instructors and initiate advisor approvals
and registration clearance.
How to Resolve Issues
Check for Issues
from the Calendar
Check
for Issues from the Registration Checkout Screen
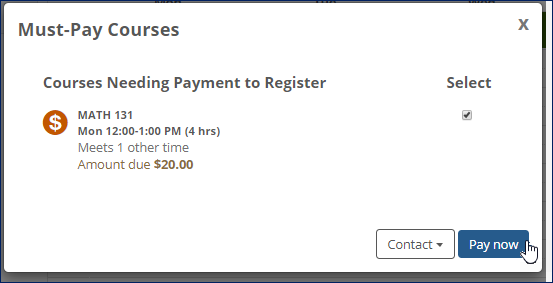
Pay
for a Must-Pay Course
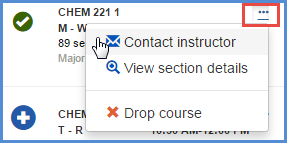
Email a Course
Instructor
Request Registration
Clearance
Request Advisor
Approval
Register
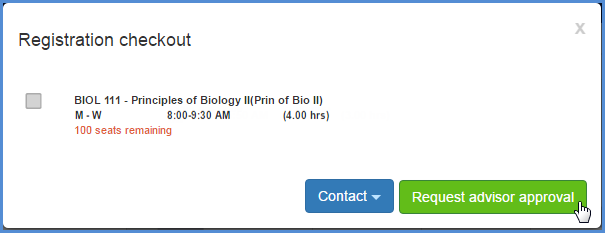
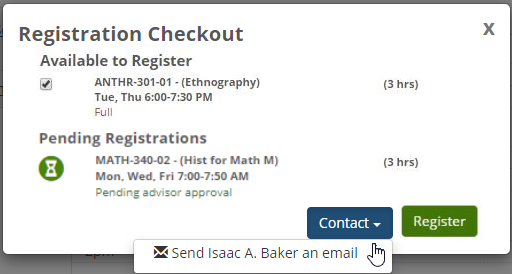
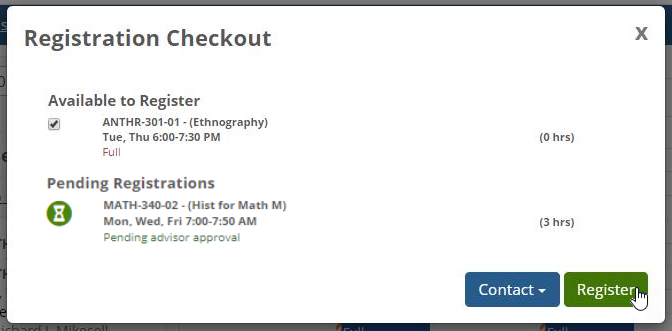
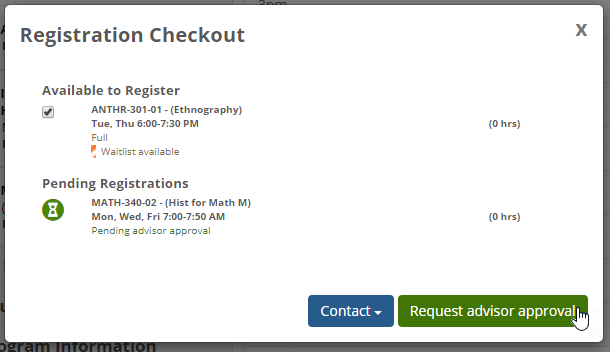
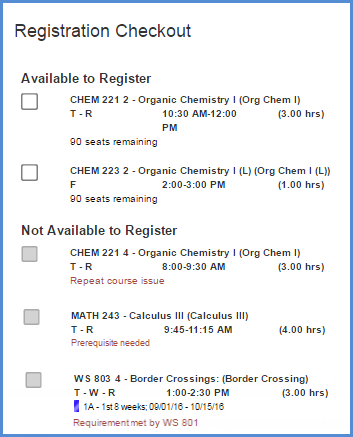
When registration opens, you can register for any or all of the courses
on your calendar that aren't awaiting approval. When you're ready to register
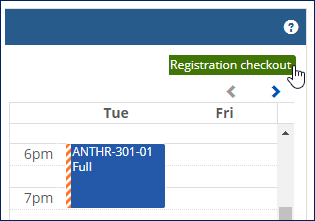
for one or more courses, click the Registration
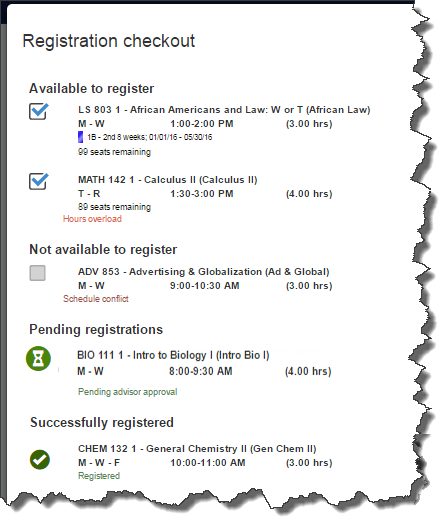
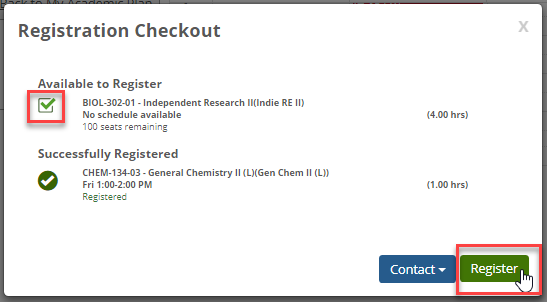
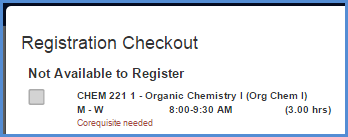
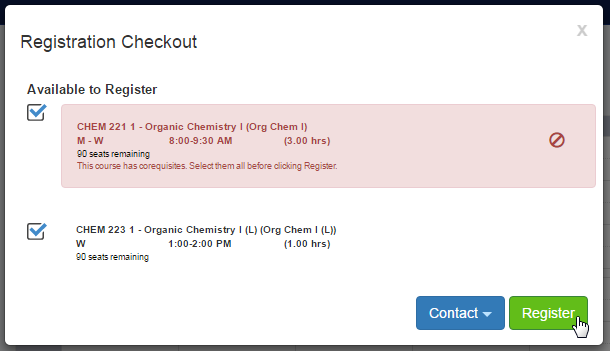
Checkout button to open the Registration Checkout pop-up. Example
How to Register
Register for
a Course
Request Registration
in a Full Section
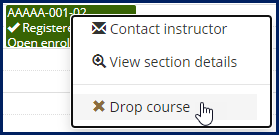
Drop a Course
Withdraw from
a Course
Register for
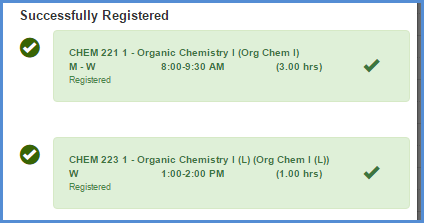
a Course That Has Corequisites
Drop a Course
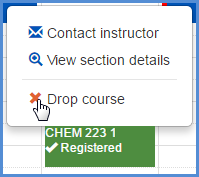
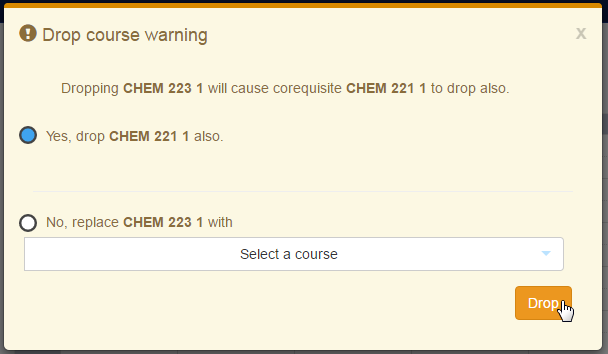
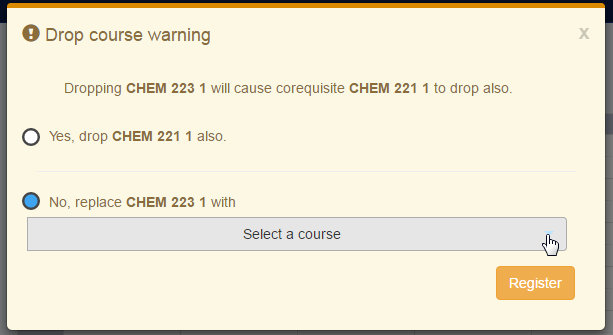
That Has Corequisites
Switch Sections
of a Course That Has Corequisites
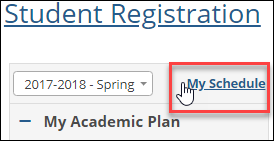
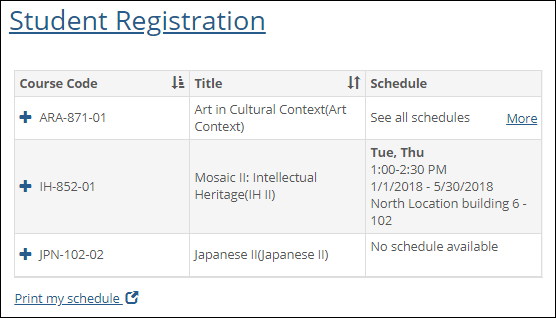
View Your Schedule
FAQ
Why
can't I do anything in the Student Registration feature?
When
will the next term be available for planning?
Can
I search courses even before the planning period opens?
Why
can't I search every field in course searches?
Why
are my course choices limited?
What
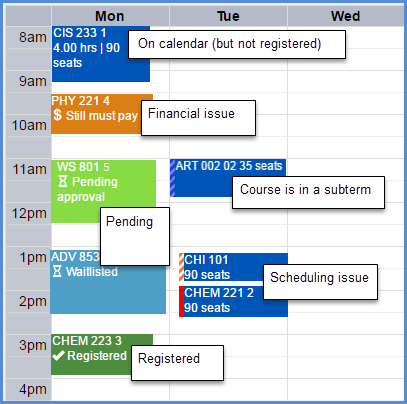
do the colors and stripes on the calendar indicate?
What
if I have courses from different subterms in the same time slot?
Why
is the Registration Checkout button disabled?
Why
is a section disabled on the Registration Checkout screen?
Why
can't I add courses from the Search Results or Course Details pages?
Why
can't I withdraw from a course?
Related Topics
Student Registration Feature Setup
(for administrators)
Student Home Page
 shows
your plan sensitivity. Ask your advisor if you have questions
about your restrictions.